When you export your .obj file, you'll have the object (plane.obj), the material coordinates (plane.mtl) and the texture (plane.tga).
AoI doesn't read .tga files so we'll convert it to jpg while keeping our coordinates (and cleaning up the .obj file, which poseray does automatically).
UPDATE:
Oh, yeah, poseray is just the GUI way to do it. You could just convert your TGA to JPG using, say, GIMP and change the .mtl file in a text editor:# Exported from Wings 3D 0.98.17f newmtl cube1_auv Ns 100.000 d 1.00000 illum 2 Kd 1.00000 1.00000 1.00000 Ka 1.00000 1.00000 1.00000 Ks 1.00000 1.00000 1.00000 map_Kd diffuse.tga^^^^ change to diffuse.jpg
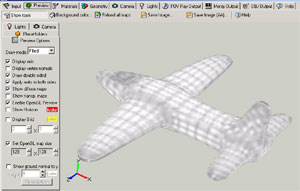
Open poseray and click the Load 3D Model... button. Find your plane.obj file and load it. If you switch to the preview screen you'll see our plane with the "grey lines" texture on it:
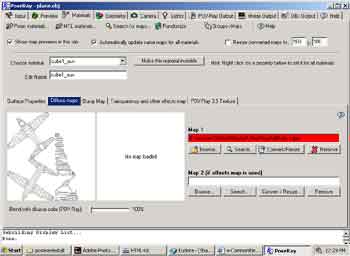
Switch to the Materials tab and lok at the Diffuse maps area. You'll see a convert/resize button. Click it to change your .tga to a .jpg.
From the OBJ output pane, click the Export Files button. By default we'll have our files renamed as (eg.) plane_mod.obj, plane_mod.mtl and diffuse_c.jpg.
About now I'm keen to see if all this has worked, so even before I paint over our diffuse_c.jpg file, lets import the plane_mod.obj file:

Nice!
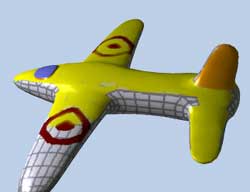
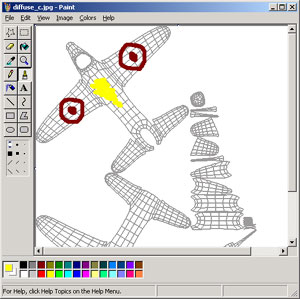
OK, so all that remains is to paint some nice stars and targets on our plane:
And that's pretty much it. If you use groovy editors like Photoshop or GIMP, then you could paint into layers and then covert to a jpg.
Enjoy!
<<-page 4 | [that's it!]
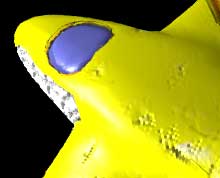
Below is the start of the paint job done just in MS paint. You'd obviously spend more than 30 seconds on this and you'd add lots of detail, start with a good model and maybe even make a bump/displacement map, too.